
 We're going to pretend this is my before picture, even though it's from last fall, I forgot to take an actual "before" and this is pretty close to the right color. Minus a little red...
I chose Revlon's Frost and Glow for this experiment since they actually had a formula that said it was for "Medium to Dark Brown Hair", which I have.
 Step one is to do a strand time test. Actually, I think step one is to do an allergy test, but I like to live dangerously, so I skipped that... for the time test you snip off a bit of your hair and apply the mixed bleach to it and check it every 10 minutes to see how long it takes to get the color you want. I tested up to 40 minutes but decided 30 minutes was best.
 Then you take this minuscule hook and use it to pull tiny amounts of hair through the absurd plastic cap you've just put on your head.
 Like so. It would probably be much easier to do this with a friend since it's a bit hard to do the back of your own head.
 But as you see, it can be done by yourself. It just takes a bit longer.
 Depending on how fast you are, 30-60 minutes later you look a bit like an alien with a hair growth problem. Which is exactly how you want it. As you are pulling three or four strands through at a time you may feel compelled to try to pull a more sizable chunk through each hole. RESIST! Lots of tiny little highlights do actually look better than a bunch of chunky ones. You will naturally get a few larger ones as you go, so don't worry too much about each little piece.
 So then apply the bleach- I prefer to scoop some up in my fingers and squeeze it down the hair piece rather than use the spatula thing which just makes me feel like I'm smushing it through the holes onto the hair underneath. They advise you cover the hair hanging below the cap with something to protect it from the bleach, but I just tied mine back in a bun. I thought spots might look fun. Once you've got the bleach on, you cover your whole head the lovely plastic over-cap they provide, and wait 30 (or however many) minutes.
Now two pieces of advice I have for you at this point:
1) Don't to this on a very hot, humid day. Plastic caps and humidity aren't a nice combination. (Though bleach and open windows are, so also preferable not on a very cold day...)
2) When you first take the over-cap off to see if your hair has reached the desired color, DON'T PANIC!! It will look Goldilocks yellow, but that's just the dried bleach, not your actual hair color! I don't have a picture of this for you because: a. I was too busy not panicking to remember to take a picture, and b. You've got to take your clothes off before you take the over-cap off, and I'm just not into sharing that much!!
Anyhoo, jump in the shower and rinse like crazy, wash, condition, and...

Voila! You're done! Well, ok, I dried my hair and brushed it all nice so you can see where the highlights actually went, but you know what I mean!
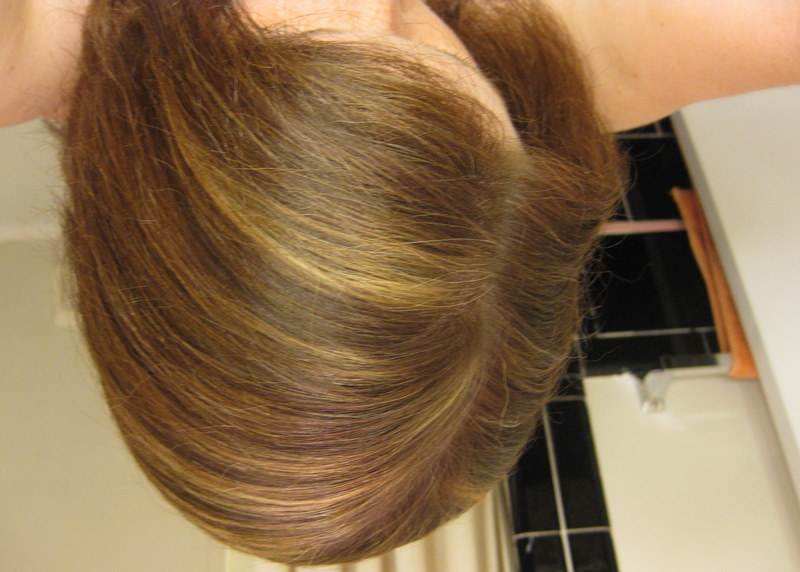 See what I was saying about there being larger bits and smaller bits? Wasn't intentional, it just kind of happens that way.
 And there's the I-did-it-myself back shot.
So, the kind of sort of before:
 And the what-it-looks-like-all-fluffed-up after:
 All kinds of summery, right? (actually, it looks more summery in natural light, but you get the idea!)
One other thing I might mention is that the bleach does change the texture of your hair, makes those pieces a bit drier, which does add volume. Depending on whether you want that or not, could be a good thing!
So, my friends, go forth and highlight!
: )
1 comment:
Beautiful =)
Post a Comment